1. Open Photoshop and create new document.
2. Go to
Filter>Texture>Craquelure. Use 9 for the Crack Spacing, 2 for Crack Depth
and 10 for Crack Brightness.
3. Go to Layer>Layer
Styles>Color Overlay. Use black for the color and multiply at 70% Opacity.

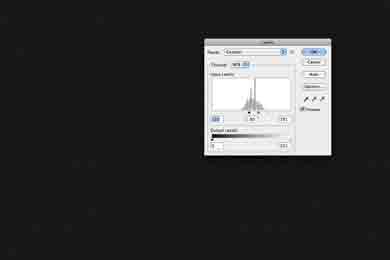
4. Go to
Image>Adjustments>Levels. Use 120 for the black input, 1.00 for the grey
and 181 for the white input.
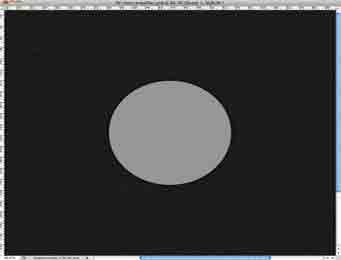
5. With the Ellipse Tool (U)
create a circle in the center of your design
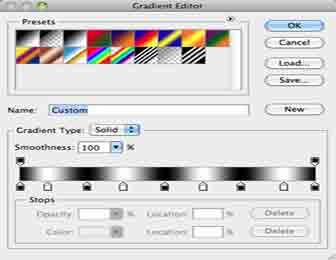
6. Select the Gradient Tool
(G) then click on the color preset. Change the colors so you have something
like the image below.
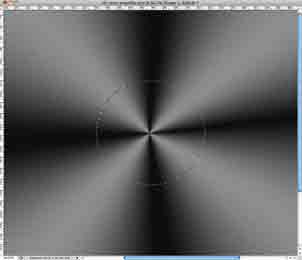
7. Add a new layer and take Gradient
Tool (G) select
the Angle Gradient type and fill the layer with the
gradient preset as above. After that create a marquee
selection of the circle created in the step 5, to do that is super simple,
just click holding Command (mac)/Control (PC) on the thumb of the circle layer.
8. Go to Layer>Layer Mask>Reveal Selection.
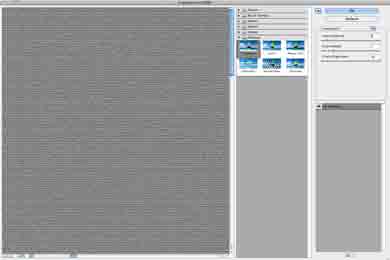
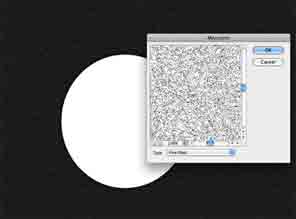
9. Duplicate the circle layer
and fill it with white. Change the order so it is on top of the other layers.
After that change the Fill Opacity to 0%. After that go to
Filter>Pixelate>Mezzotint. Use Fine Dots.
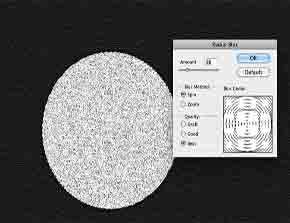
10. Create a marquee selection
of the circle and then go to Filter>Blur>Radial Blur. Use 20 for the
Amount, Spin for the Blur Method and Best for the Quality.
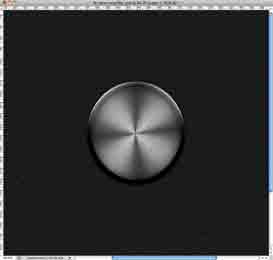
11. Change the Blend Mode to
Multiply. and finally it looks like,